Exercises and Problems
1. Create a Site Flow Diagram for Etsy.com
- Simple, Fun
Develop a Site Flow Diagram for Etsy.com to visualize the user journey and understand the navigation paths between different pages. This task will help you practice mapping out how users interact with a website, illustrating which pages they visit and in what order.
Understand the Key Pages:
- Identify the main entry points and key pages on Etsy.com. These might include the Homepage, Product Pages, Shopping Cart, Checkout, Account Login, etc.
- Think about how users navigate through these pages, such as starting from the Homepage, searching for a product, viewing product details, adding items to the cart, and then checking out.
Map the Flow:
- Using a tool like draw.io, Lucidchart, or even pen and paper, create a diagram that maps out the flow from one page to the next.
- Start with the Homepage and draw arrows to show the possible paths a user might take. For example:
Homepage → Category Page → Product Page

Homepage → Search Results → Product Page

Product Page → Shopping Cart → Checkout

Account Login → Order History → Order Details
copy
Indicate Actions:
- Label the arrows with the action or event that triggers the page transition. For example:
Search for a product → Search Results
Click on a product → Product Page
Add to Cart → Shopping Cart
copy
Show Decision Points:
- Include decision points where users can choose between different actions, such as continuing to shop or proceeding to checkout. Represent these with diamonds or branching paths in your diagram.
Refine and Complete:
- Make sure your diagram covers all the key flows, including any loops (e.g., users going back to a previous page) or alternative paths (e.g., guest checkout vs. logged-in checkout).
- Review the flow to ensure it accurately represents the user journey on Etsy.
Submission: Submit your diagram as a PDF or image file. Make sure it clearly shows the different paths and how they connect from one page to the next on Etsy.com.
2. Building a Personal Portfolio Page
- Must Do
Create a simple personal portfolio webpage using HTML. This task will help you understand the basics of structuring a webpage, using different HTML elements, and organizing content.
Instructions:
Basic Structure:
- Create a new HTML file called index.html.
- Set up the basic HTML structure, including
<!DOCTYPE html>,<html>,<head>, and<body>tags.
Head Section:
- Add a title to your page within the
<title>tag. The title should be your name. - Include a
<meta charset="UTF-8">tag for character encoding.
Header:
- Inside the
<body>tag, create a header section with your name as an<h1>element. - Below your name, add a short description of yourself as a
<p>element.
Navigation Menu:
- Create a simple navigation menu using an unordered list (
<ul>) with links (<a>) to the following sections: Home, About, Portfolio, Contact. - These links can be placeholder # links for now.
About Section:
- Create an About section using an
<h2>element for the section title. - Write a short paragraph about yourself.
Portfolio Section:
- Create a Portfolio section with an
<h2>element. - Add a list of 3 projects or works you have done using an ordered list (
<ol>). Each list item should have the project name in bold (<strong>) and a brief description.
Contact Section:
- Create a Contact section with an
<h2>element. - Add your email address as a mailto link (
<a href="mailto:yourname@example.com">).
Footer:
- Create a footer at the bottom of your page with a copyright notice and the current year.
Hints:
- Ensure that your HTML is properly indented and easy to read.
- Use comments (
<!-- Comment -->) to organize your code and describe each section.
Example Structure:
<!DOCTYPE html>
<html lang="en">
<head>
<meta charset="UTF-8">
<meta name="viewport" content="width=device-width, initial-scale=1.0">
<title>Your Name</title>
</head>
<body>
<header>
<h1>Your Name</h1>
<p>Short description about you.</p>
</header>
<nav>
<ul>
<li><a href="#">Home</a></li>
<li><a href="#">About</a></li>
<li><a href="#">Portfolio</a></li>
<li><a href="#">Contact</a></li>
</ul>
</nav>
<section>
<h2>About</h2>
<p>Information about you.</p>
</section>
<section>
<h2>Portfolio</h2>
<ol>
<li><strong>Project 1:</strong> Description of Project 1</li>
<li><strong>Project 2:</strong> Description of Project 2</li>
<li><strong>Project 3:</strong> Description of Project 3</li>
</ol>
</section>
<section>
<h2>Contact</h2>
<p><a href="mailto:yourname@example.com">yourname@example.com</a></p>
</section>
<footer>
<p>© 2024 Your Name</p>
</footer>
</body>
</html>
copySubmission: Submit the index.html file when complete (push it to a GitHub repo). Ensure all sections are filled with relevant content.
3. Create MDN’s Basic HTML Website Example
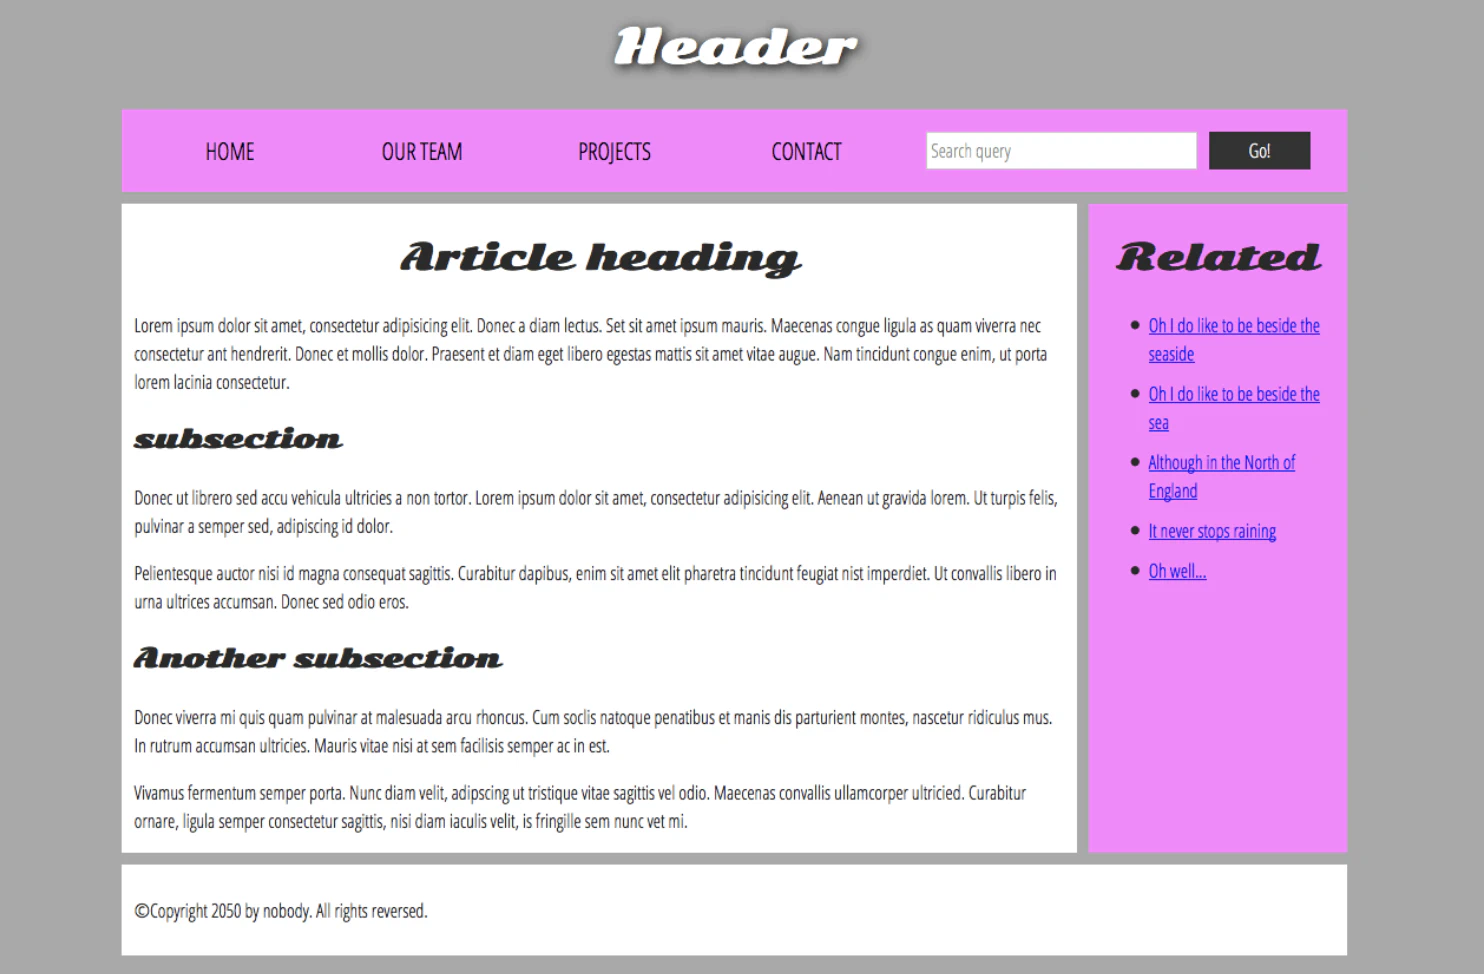
- Must Do
Recreate the basic HTML website example from the MDN Web Docs (https://developer.mozilla.org/en-US/docs/Learn/HTML/Introduction_to_HTML/Document_and_website_structure ) to practice building a simple website structure using HTML. This task will help you understand the foundational elements of HTML, including document structure, headings, paragraphs, links, images, and lists.
Instructions:
- Set Up Your Project:
- Create a new folder for your project named
basic-html-website. - Inside this folder, create an HTML file called
index.html.
- Build the HTML Structure:
Follow the example provided by MDN’s “Introduction to HTML” guide for setting up your HTML document structure.
Ensure your
index.htmlincludes the following elements:- DOCTYPE Declaration: Start your HTML file with
<!DOCTYPE html>. - HTML Root Element: Use the
<html>element to wrap all the content. - Head Section:
- Include a
<title>tag with a title for your webpage. - Include a
<meta charset="UTF-8">tag for character encoding.
- Include a
- Body Section:
- Create a header using an
<h1>element for the main title of your page. - Add a paragraph (
<p>) under the header with some introductory text. - Include a link (
<a>) to another webpage (this can be a placeholder link for now). - Add an image (
<img>) with thesrcattribute pointing to a local or online image. - Create a list (ordered or unordered) of items related to your content.
- Create a header using an
- Additional Content:
- Add a second level heading (
<h2>) for a new section on your page. - Include another paragraph (
<p>) with more detailed content. - Create another list if needed to organize more information (this can be either ordered
<ol>or unordered<ul>). - Add another image if relevant, ensuring it has appropriate
alttext.
- Add a second level heading (
- DOCTYPE Declaration: Start your HTML file with
- Validate Your Code:
- Ensure your HTML code is properly indented and follows best practices for readability.
- Use an HTML validator like W3C Markup Validation Service to check your HTML for errors.
- Test Your Website:
- Open your
index.htmlfile in a web browser to see how it renders. - Make sure all links work, images display correctly, and the content is structured as intended.
Submission: Submit the index.html file along with any images used. Ensure that your HTML file is clean, well-organized, and free of errors.
Next tasks to be defined later
- Exercise Type
Submission:
deploy to netlify
create MDN’s basic html website example,
browse google fonts and icons
bootstrap